Tuff-E RC Plane Eric's builds his first electric RC plane. | ||
| I decided to get into RC airplanes recently. Several years ago, I was into hanggliding, but gave that up for reasons of safety and convenience. Also, I have been toying with learning to fly real planes. But, after starting a new job at Google, I didn't feel like to could dedicate the time to learn to fly. So I got the opportunity to get into RC! Here follows is some pictures of my construction of my first RC plane: the Tuff-E. | ||
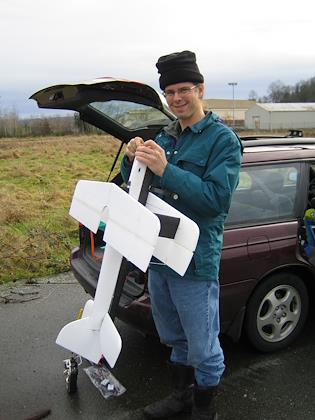 | 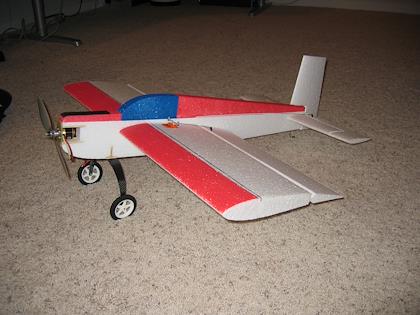 | |
| One of my new co-workers at google, Seth LaForge, is into electric RC. I am "leveraging" his knowledge! Seth helped me with a number of questions I had about the construction. | Here is the completed plane. I purchased the kit from Northeast Sailplane Products. They seem pretty good, and were quite helpful when I had questions. | |
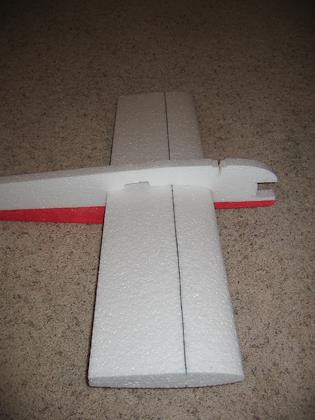 | 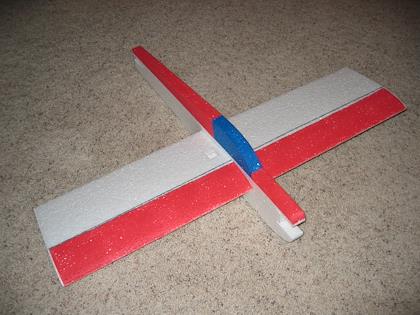 | |
| First I installed carbon fiber strips in the wings (the blackline). This gives the wing extra stiffness and strength. | The the wing is inserted into the wing shaped hole in the fuselage and CA is applied at the joint to glue them together. CA stands for 'cyanoacrylate ' and is, basically, super-glue. Because the TUff-E is made of EPP foam (Expanded Polypropylene) the CA does not eat it up like it would with regular foam. Who knew I would learn so many new terms! | |
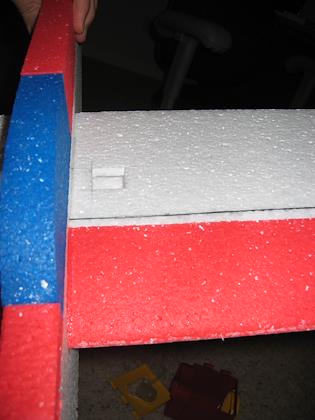 | 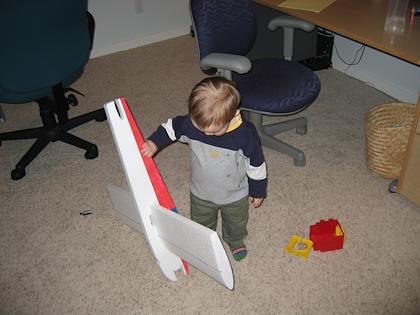 | |
| The hole is for two of the four servo's. It was scary cutting into the foam for the first time, but one gets used to it pretty quickly! | My son, Kenny, sizes up the plane so far. I think he is impressed. Then, again, he is only 15 months old! | |
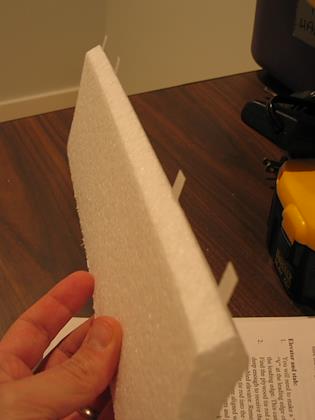 | 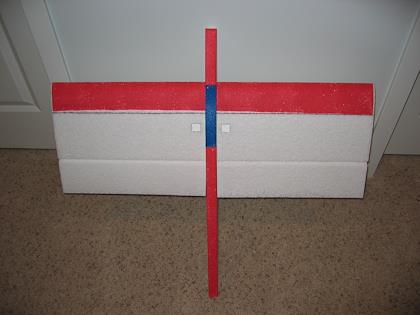 | |
| Here we have the cloth hinges for the ailerons. These are inserted into slits in the ailerons and wings and CA'ed in place. | Ta-Da! Now we have roll capability! | |
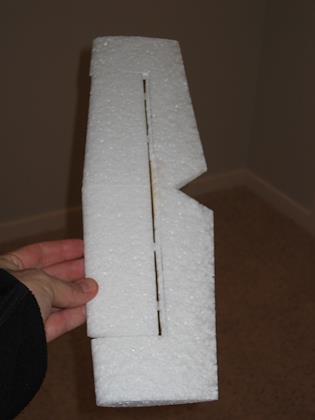 | 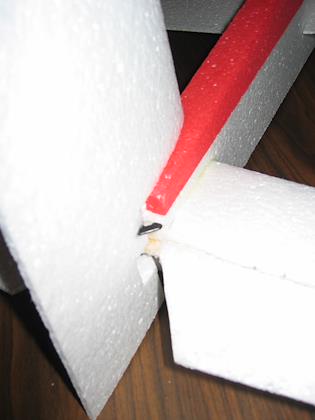 | |
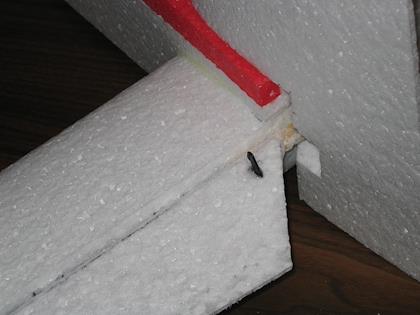
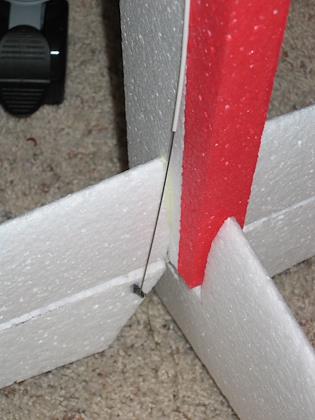
| Next is the elevator/stabalizer construction. The two pieces of the elevator are attached by a wood tierod which is epoxied into a cut I had to make. This was one of the toughest parts of the construction. Then, the elevator is hinged to the stabalizer. Mine's a bit crooked. | The the rudder is then attached. This was difficult because there was a hole in the fuselage where a piece of wood was installed to stiffen the fuselage. This blocked where a hinge had to go. I CA'ed a piece of foam into the hole then attached a hinge into the foam. Much cutting of foam had to take place. Measure twice, cut once! | |
 | 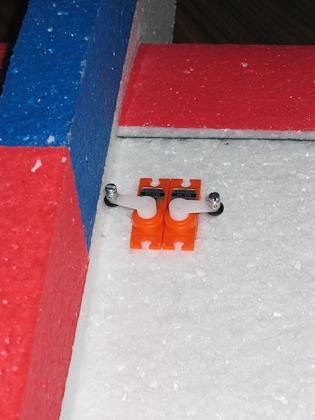 | |
| A control horn is installed in the elevator and rudder, as well as the ailerons. | The servo's are installed into the holes in the wings. | |
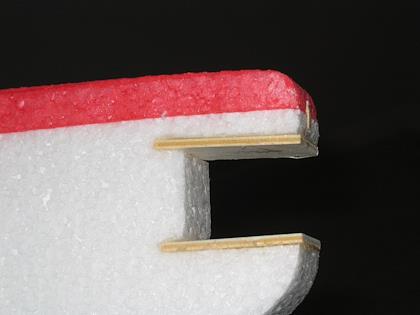 | 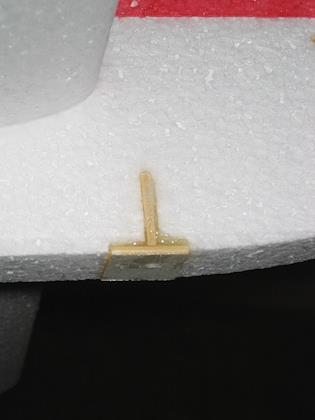 | |
| I had to epoxy pieces of wood in several places. Here is where the motor will go. These two pieces really strengthen this space. Notice the tip of the length of wood which runs the length of the fuselage. | This is there the landing gear will be installed. | |
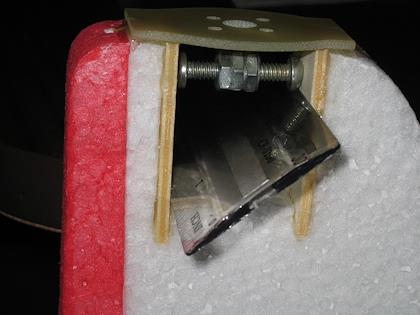 | 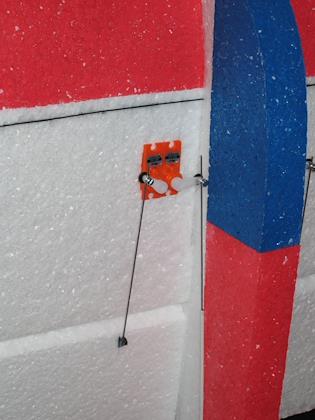 | |
| Then, the motor mount is epoxied onto the front of the plane. I had to stretch open the motor recess to make it square. I improvised two bolts attached to nuts which I glued together with CA to do this. | Control rods and sleeves are installed to connect the servo's to the control surfaces. | |
 | 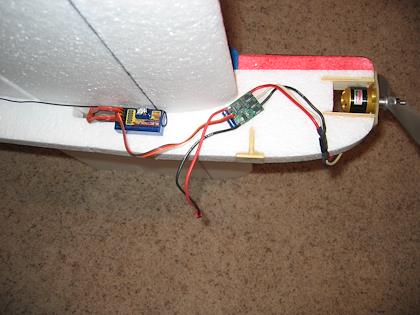 | |
| The electronics are installed. Here we have a Pheonix-25 speed controler, an Electron-6 receiver and an AXI 2221/26 brushless motor. | ||
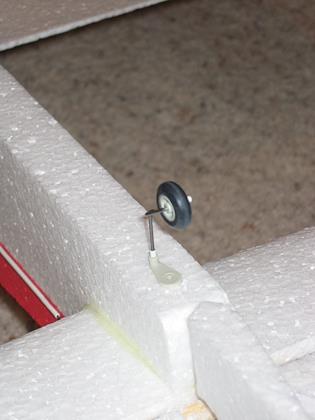 | 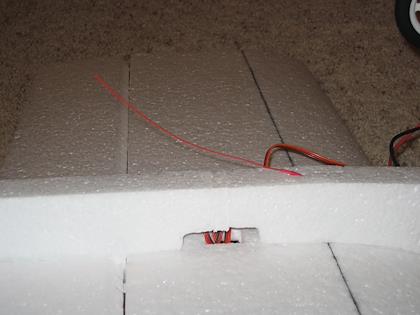 | |
| I had to figure out how to install the tail wheel. The directions were rather sparse in some areas. | I replaced the long antenne with a cool, short one I got at a hobby show in Puyallup that Seth and went to. | |
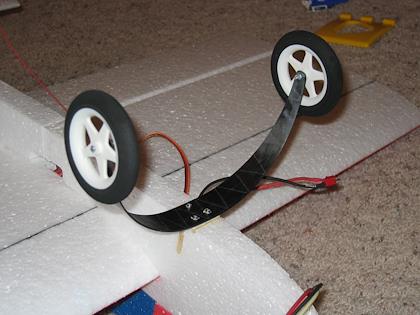 | 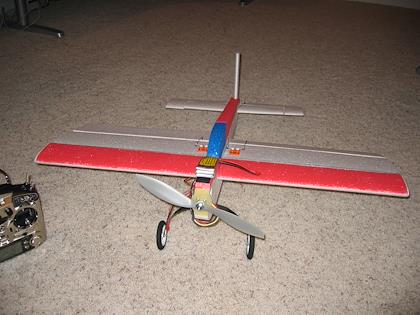 | |
| The main landing gear is installed with screws. It is my understanding that this will probably break off. I will installed it a different way later, giving it more flexability on rough landings. | Ready to go! As of this writing, I have not flown it. In fact, I have not flown much of anything at all! But I have some hours on an RC simulator. Hopefully that'll keen the crashes to a minimum! Wish me luck! (Pictures of pieces of plane to follow :-) | |