Mini IFO Eric builds a modified mini IFO | ||||||||||||||||||||||||||||||||||||||||||||||||||||||||
| I recently built a model RC plane called the Trainer IFO (Indoor Flying Object), designed by Wild RC. I liked it so much, I decided to build the mini IFO, the smaller sibling to the trainer. I learned alot from building and flying the Trainer, and a friend of mine, Seth LaForge, had also built a mini IFO. I decided to modify the design of the mini quite a bit. | ||||||||||||||||||||||||||||||||||||||||||||||||||||||||
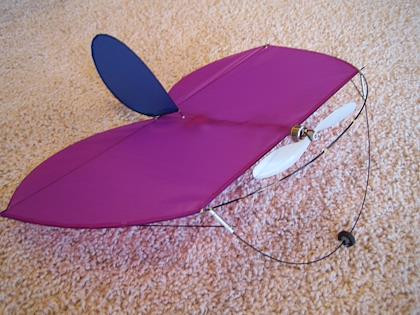 | 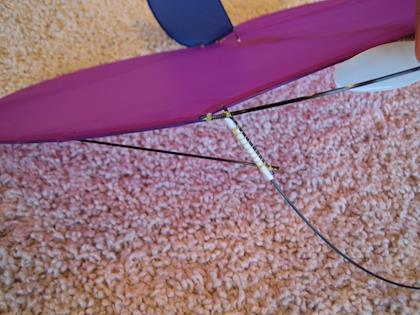 | |||||||||||||||||||||||||||||||||||||||||||||||||||||||
| Here's the completed plane. Notice the landing gear. This was one of the significant modifications I made. I got the idea from Seth's plane. | The landing gear can easily be attached by simply inserting the carbon rod into the sleeve. This rod acts both as a landing gear, and supplies protection for the prop. Plus, the plane is effectively flat for travel when removed. | |||||||||||||||||||||||||||||||||||||||||||||||||||||||
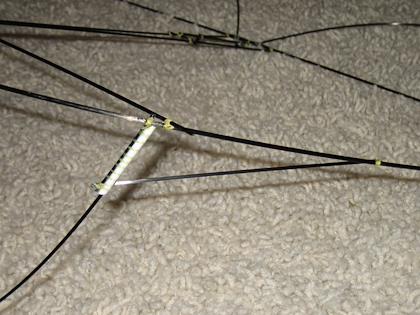 | 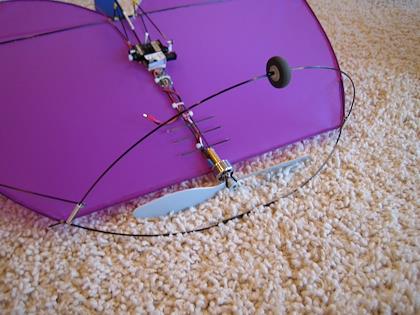 | |||||||||||||||||||||||||||||||||||||||||||||||||||||||
| These mounts for the gear were tricky to get on. | 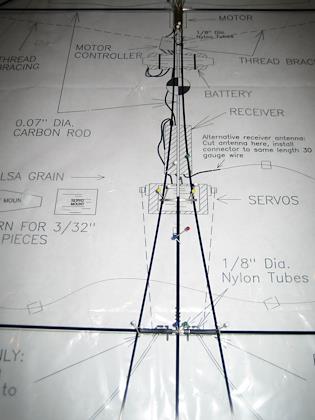 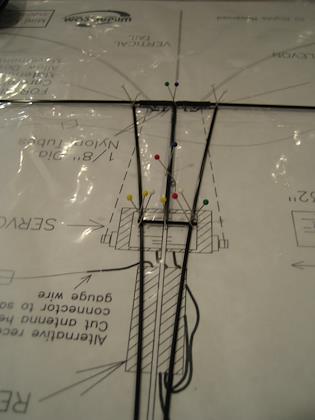 The original plans called for a single rod to connect the leading and trailing edges. The components were supposed to be glued to this single rod. I thought this would be too fragile. So, I took two thinner rods and curved them. This provides a platform for the mounting of the receiver, servos, power and battery. The additional weight does not seem too bad. | I still had to include the tail end of the center rod in order to mount the Rudder. | 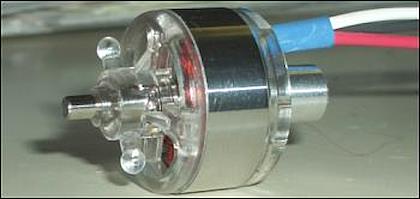 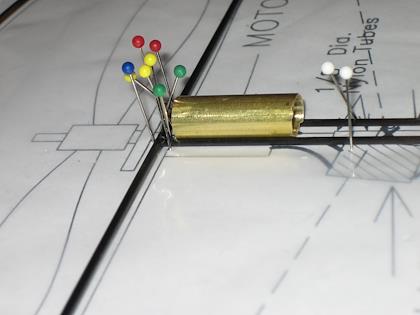 I used a Little Screamer motor. So far, I like it alot! Very responsive and powerful. However, this presented the problem of mouting the motor because the motor has a small cylindrical stub at the back for mounting. | I solved this by mounting a metal tube at the nose of the plane. The tube nestles between the two fuselage rods. It is attached with kevlar thread and CA. | 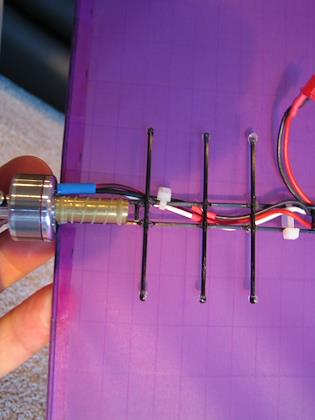 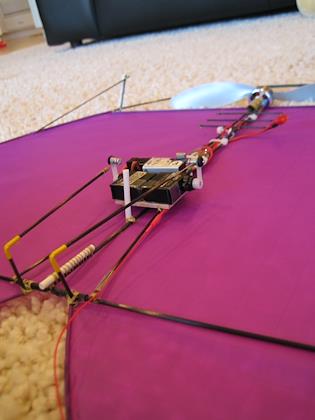 The motor is then simply inserted into the tube. Epoxy holds the motor to the tube. Notice the mount for the battery. These are carbon rods with drops of CA at the ends to prevent scratching the covering. | The original plans called for a pull/pull system for the elevons. Too flimsy for my launch and crash style of flying. So, I used the same technique used for the trainer IFO of carbon rods. | Also, notice the white tubes. These hold the rudder on. The original plans had much shorter, poor fitting tubes. I found tubes which fit the rods perfectly. This way, the rudder does not flop around at all, and is firmly attached. 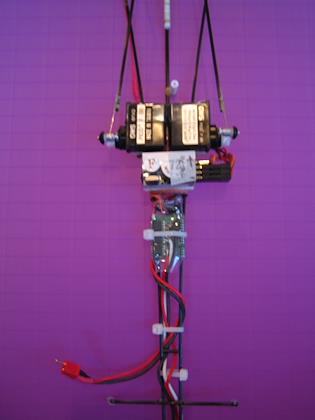 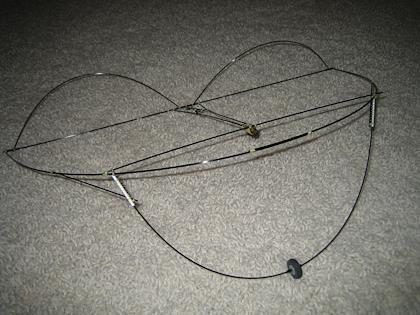 The servos and receiver are mounted on balsa which is tied down and CA'ed to the frame. This makes for a nice firm platform. I was afraid that the torque from the servos would stress the single rod fuselage mount. This is a much better and stronger. | The frame before the covering is put on. I was able to put the whole thing together from the thread left over from my trainer IFO kit! I also managed to freeze the hinges twice with CA during the construction. However, they are easily cut off, the CA removed and reinstalled. | 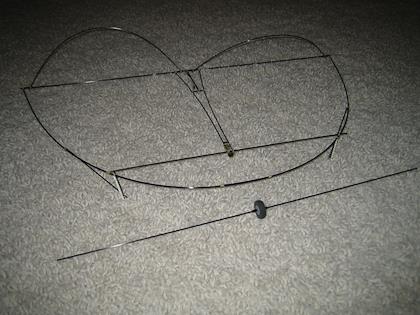 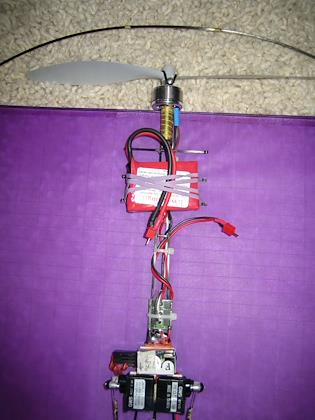 I originally tried a 10x4.7 prop, but it was too powerful and the prop hit the nose when turning tightly. So, I went down to a 9x7 which performs perfectly. | 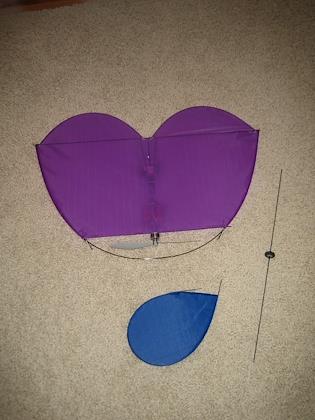 Here are the three parts. Much easier to travel with! | | |||||||||||||||||||||||||||||||||||||||||||||